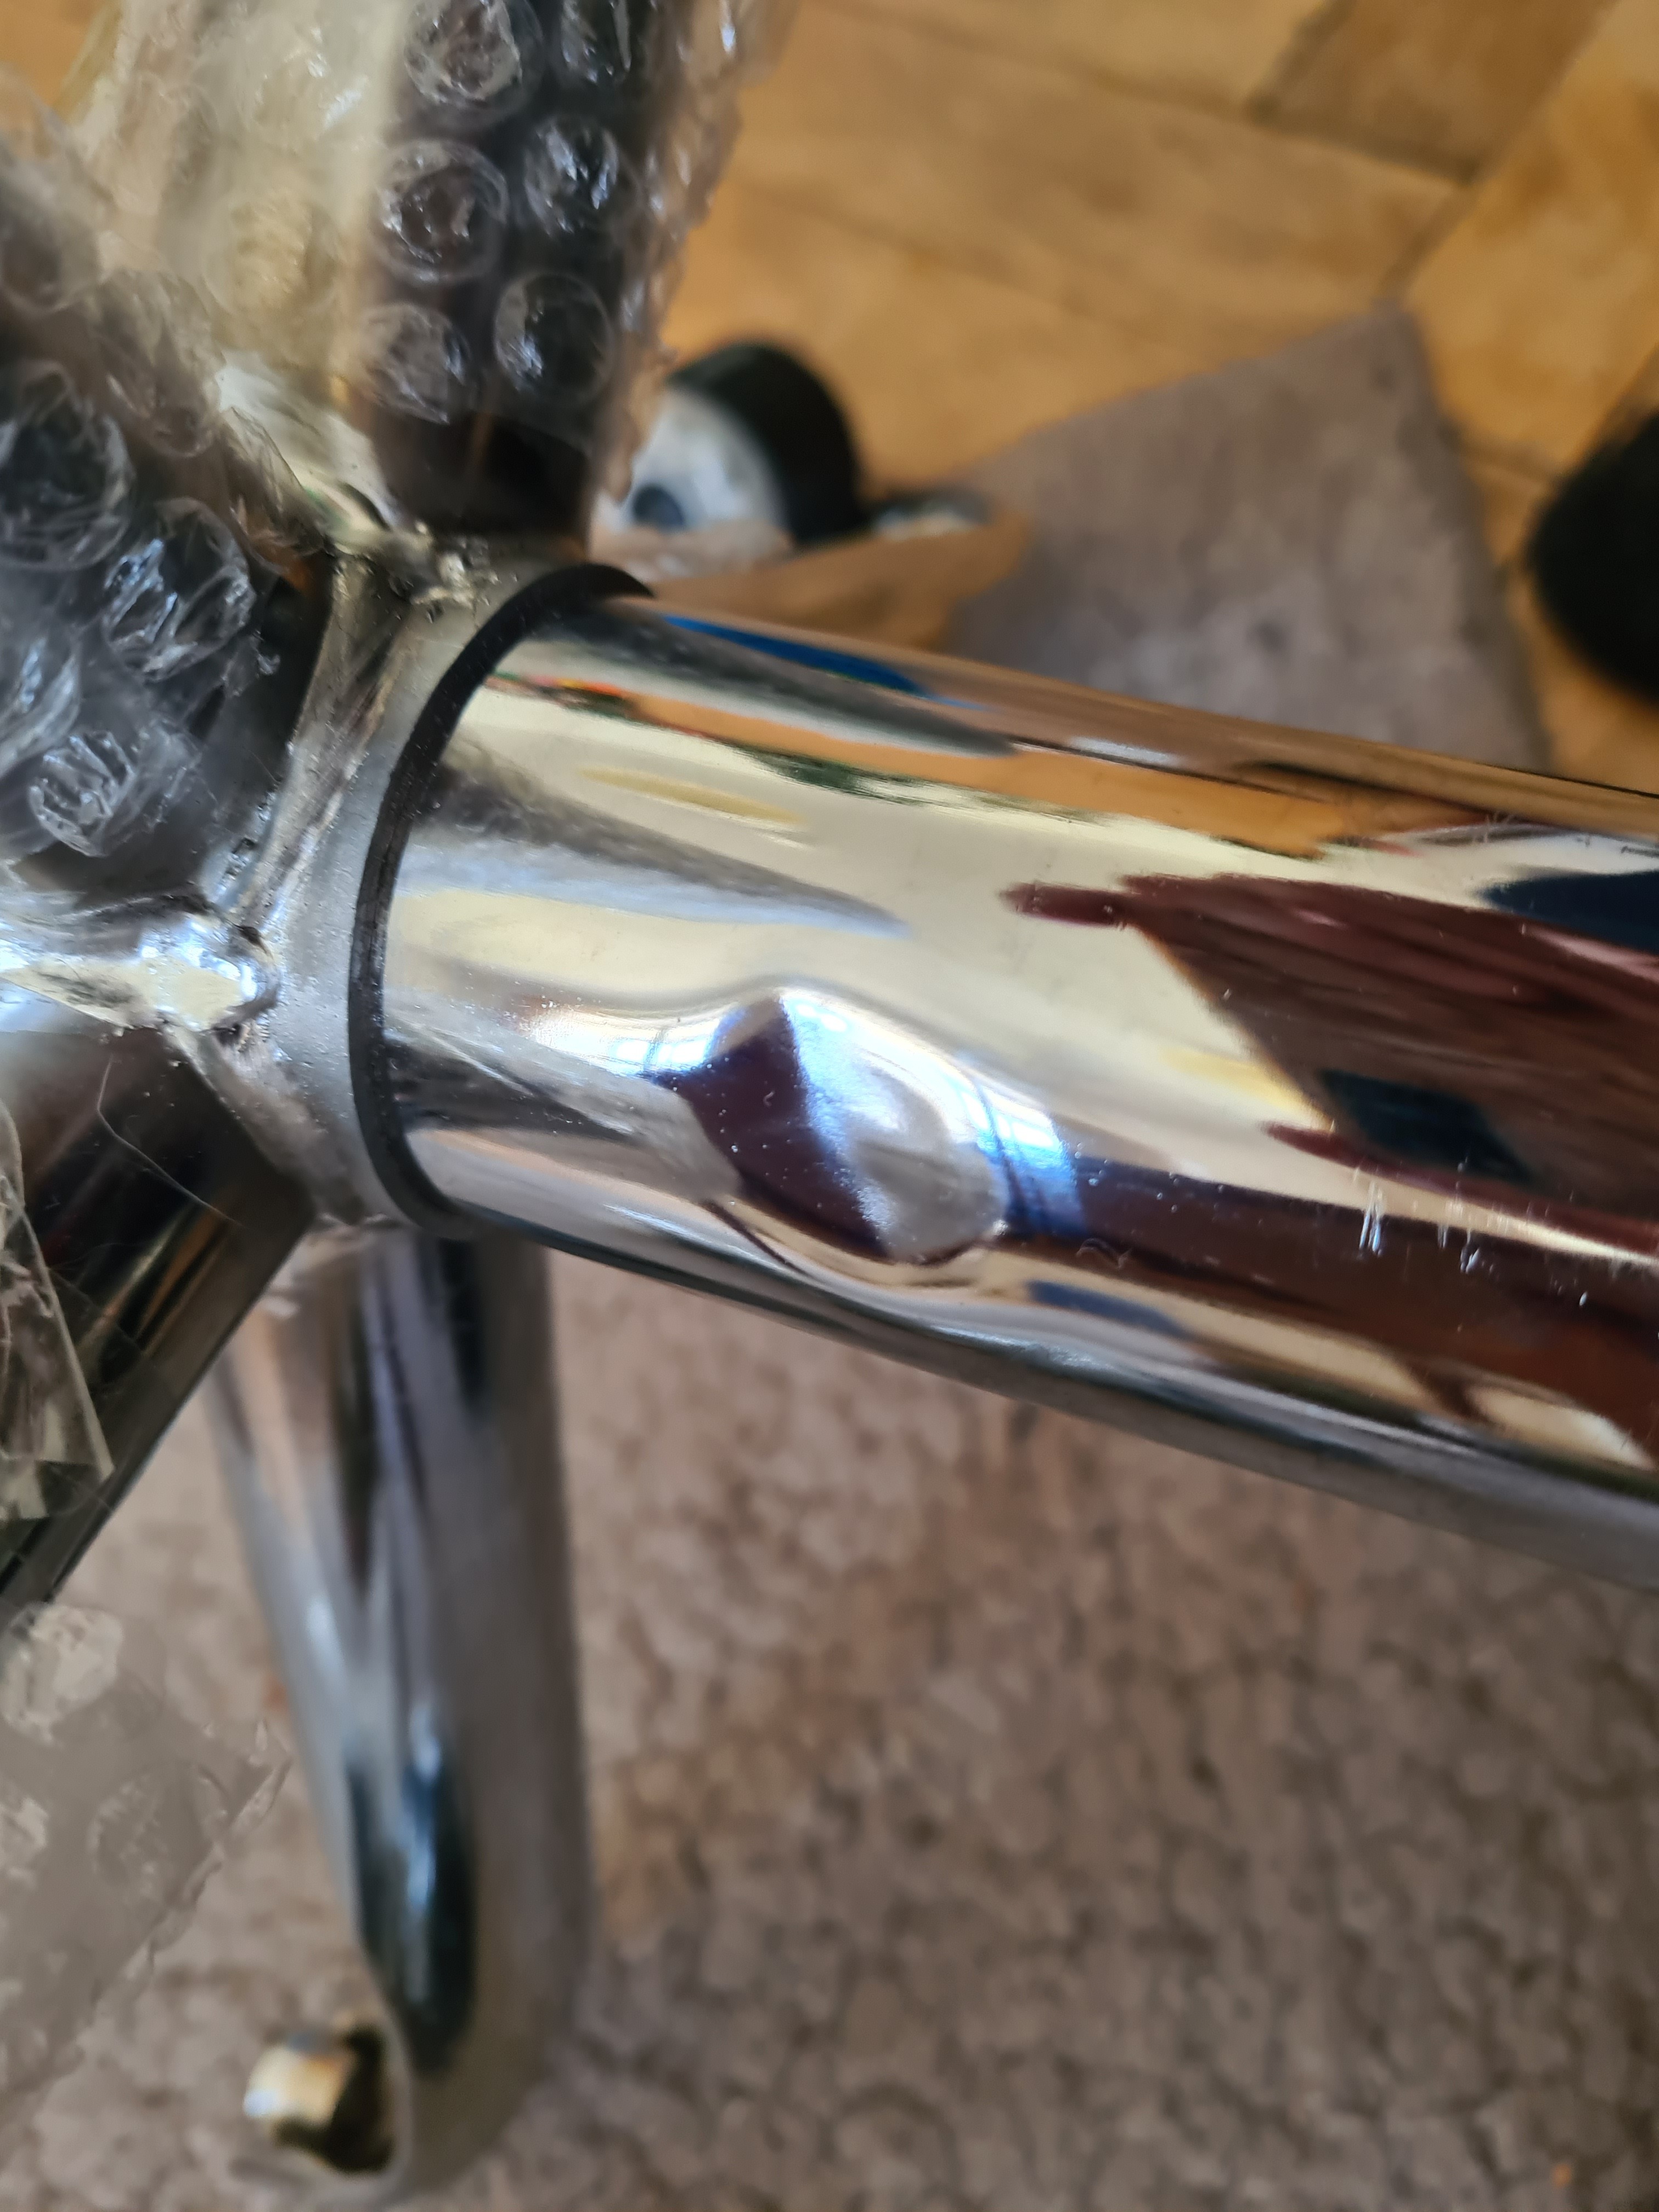
The first photo might look slightly more dramatic than it is, here area two more:
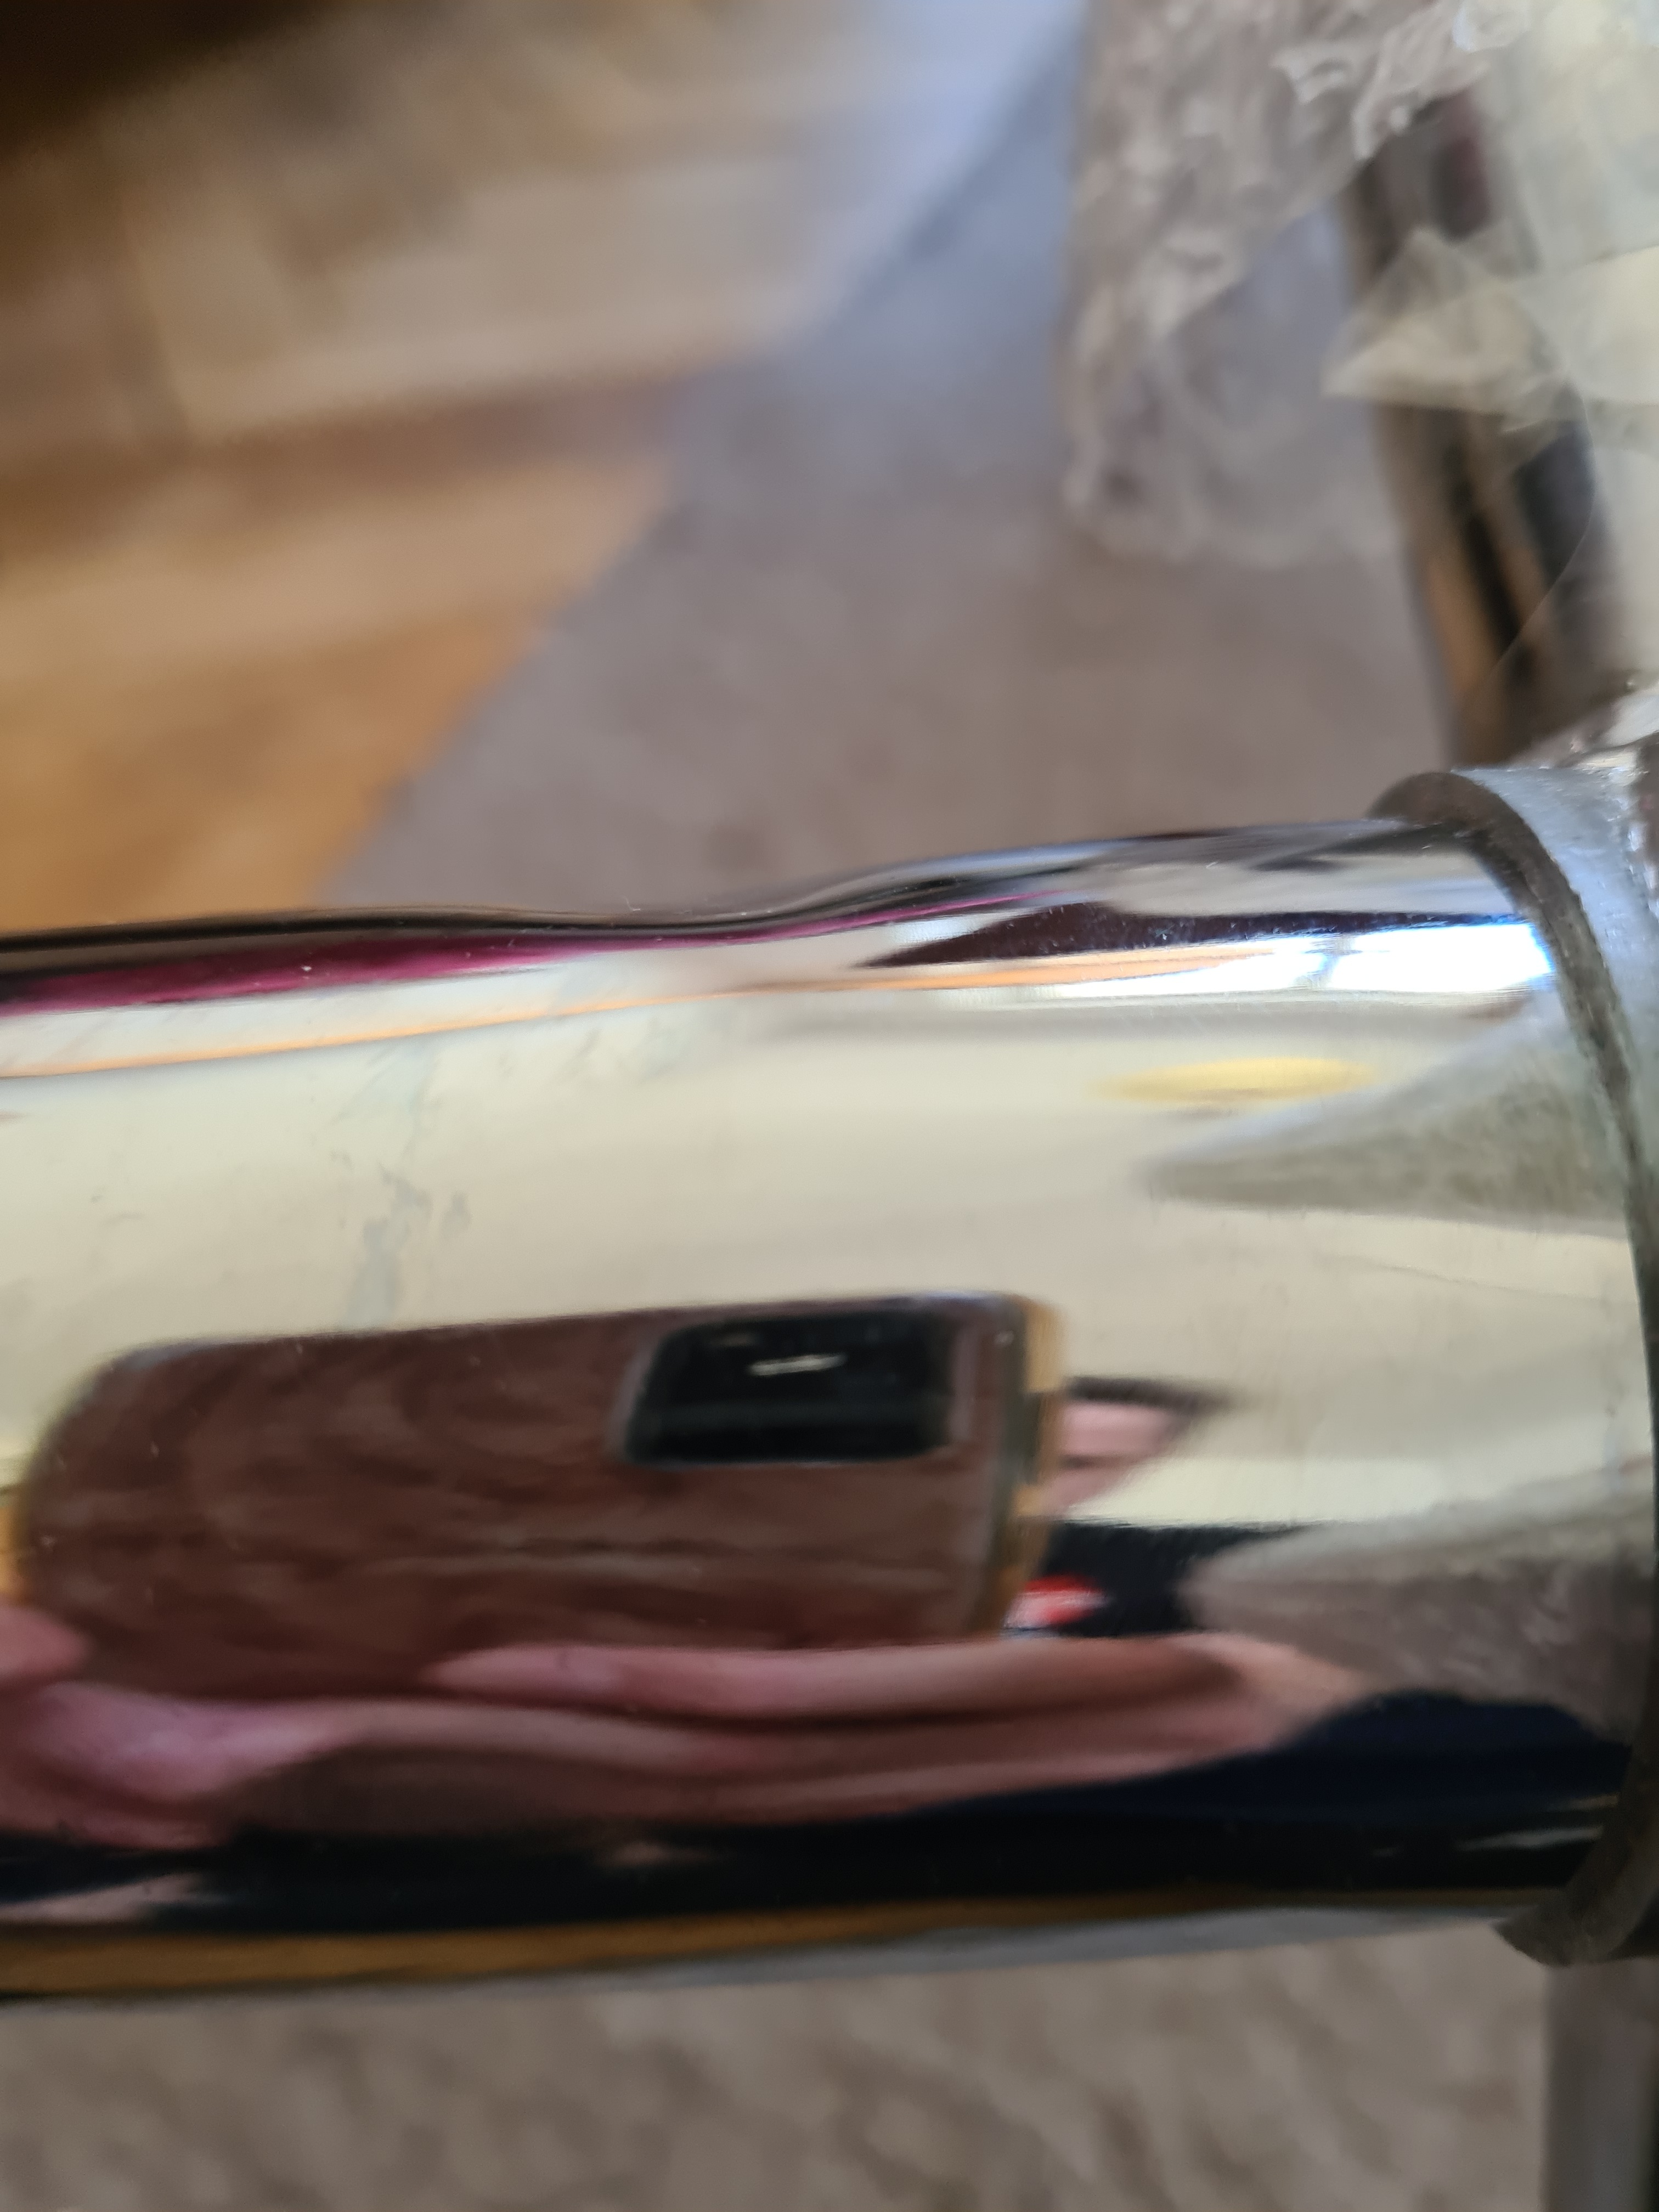
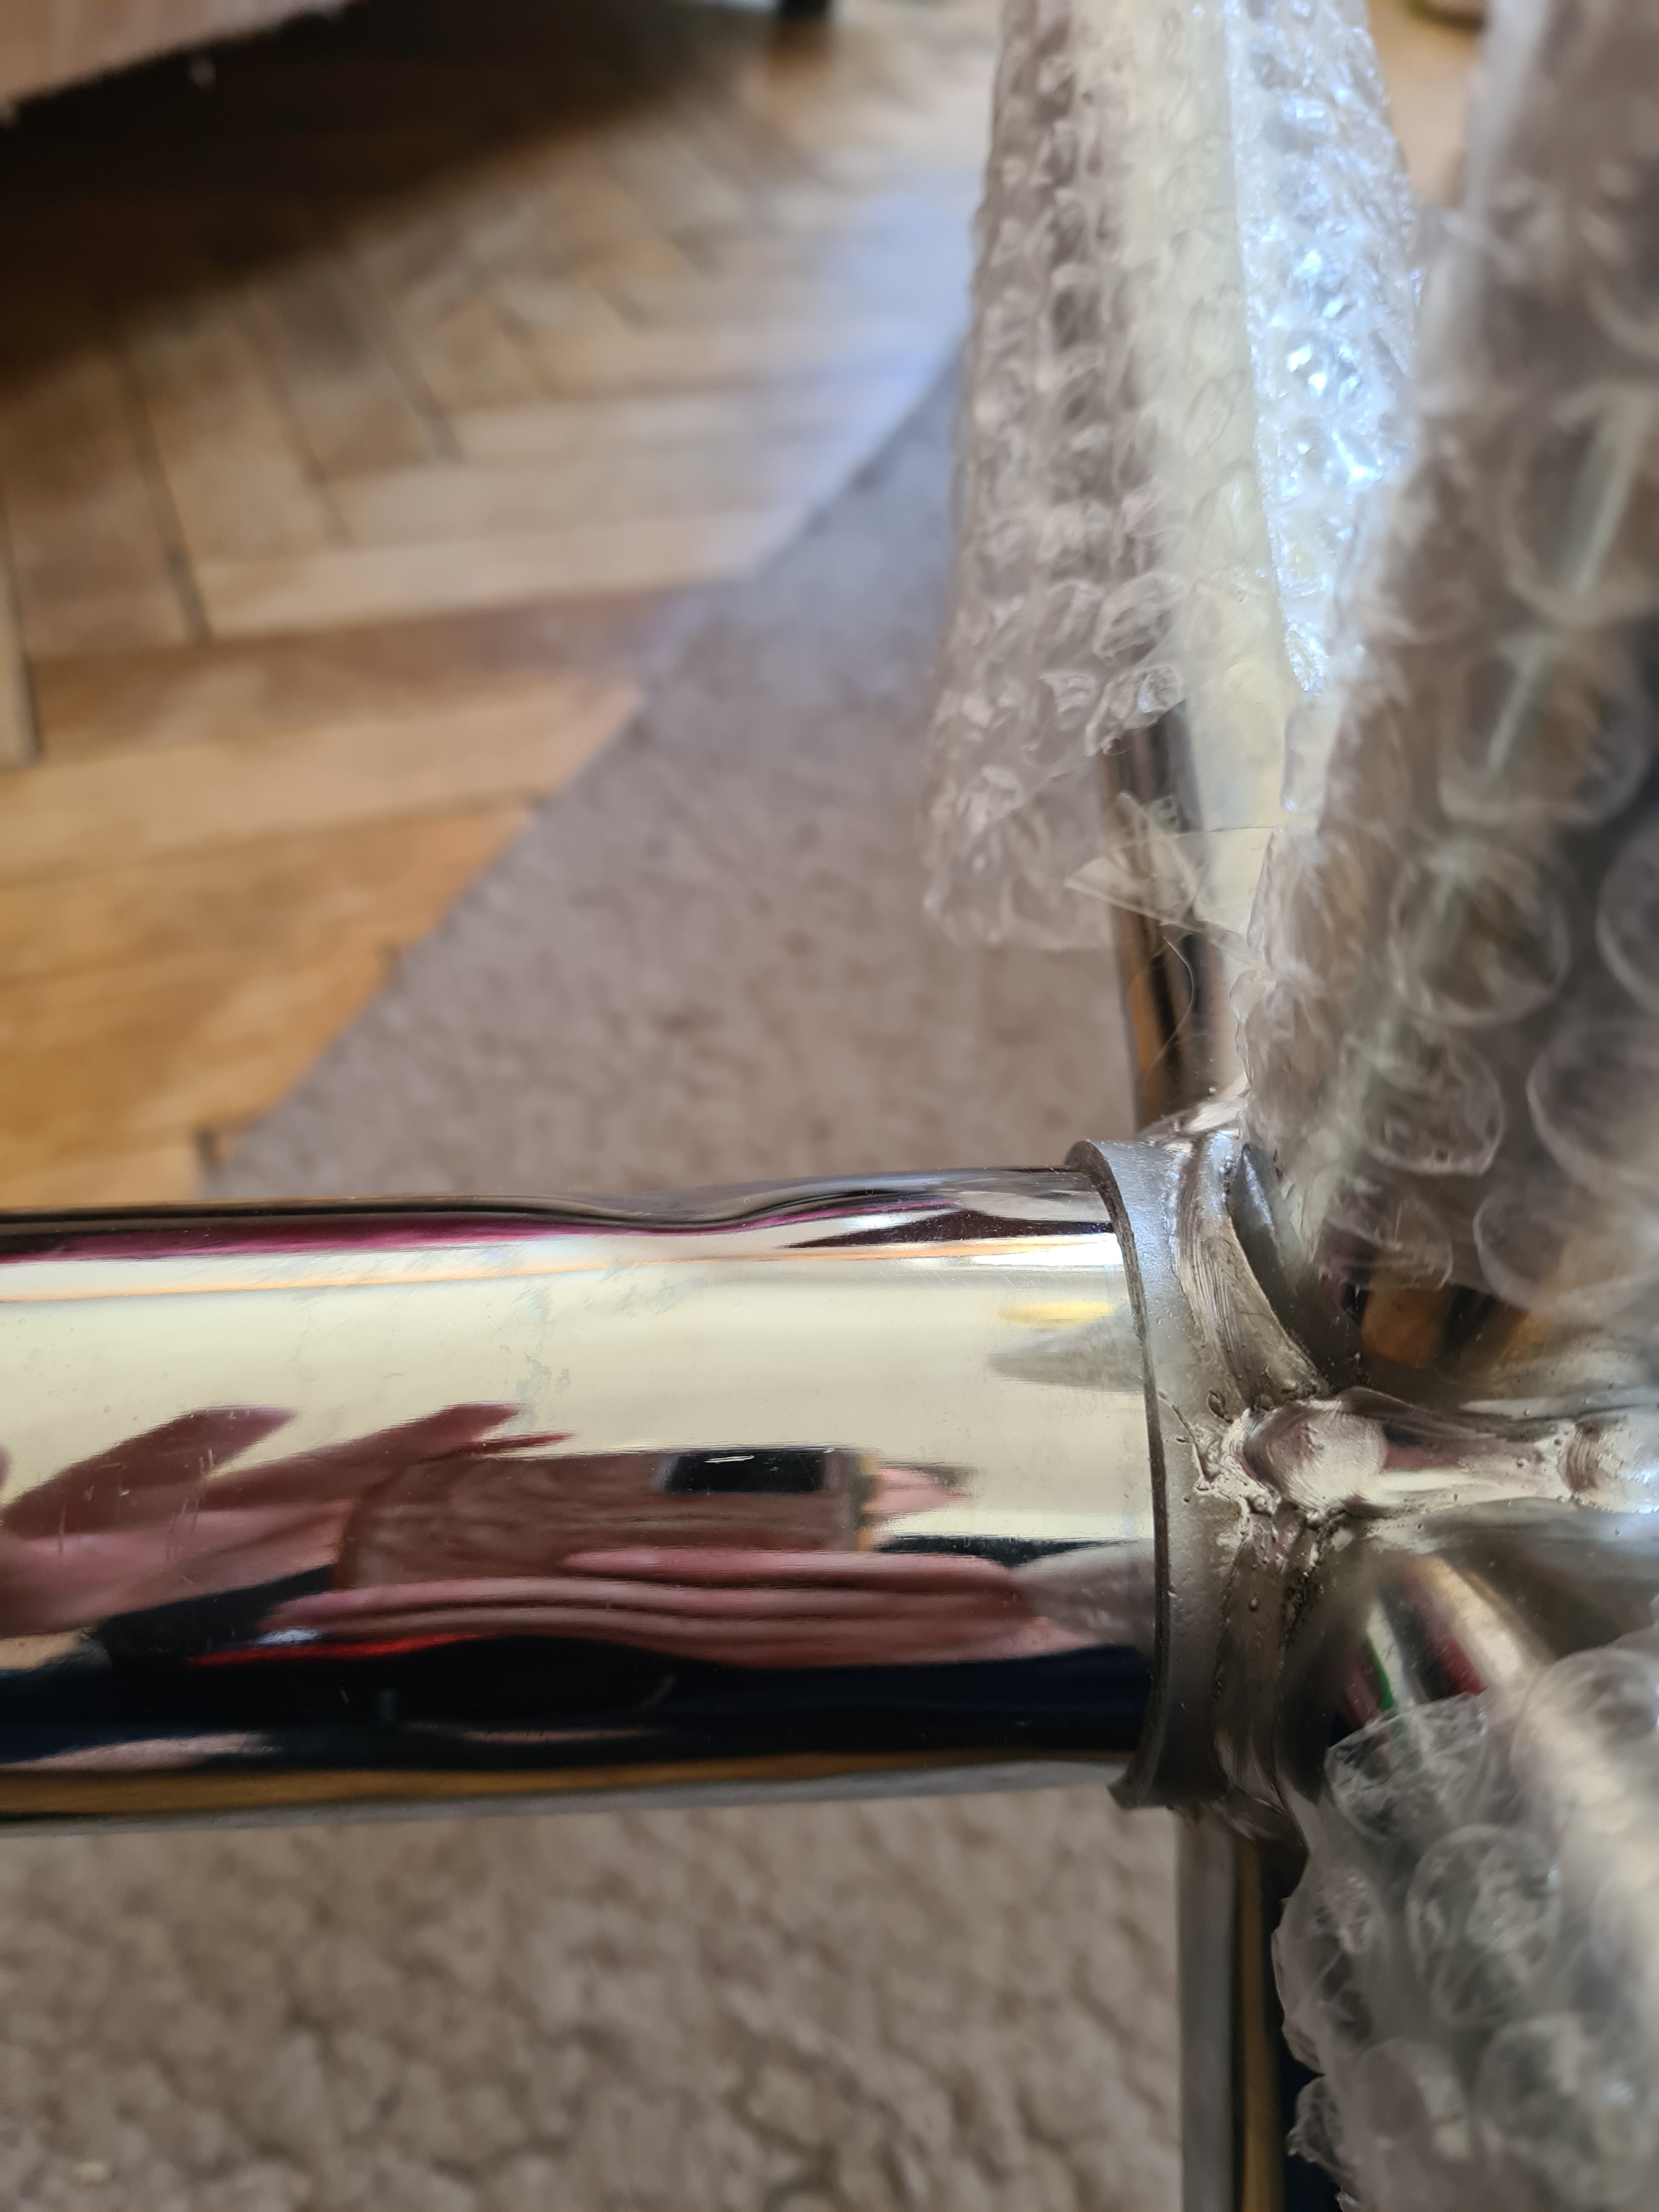
So I tried to remove the gas compression spring of my new office chair from the sockets to send it back. It’s firmly stuck in both ends, and I read the recommendation to knock it with a rubber hammer. I couldn’t find one, so I covered the gas spring with some soft cloths and tried a regular hammer - and was a bit too enthusiastic. Is this spring still safe to use? I’m guessing/hoping that that’s not really the outer wall of the gas cartridge? It is still working, extends and compresses smoothly.
EDIT: so I saw a couple videos about this topic where people removed the holding clip on the bottom end of the gas lift, allowing them to remove the cylinder that I dented from the actual gas spring. I did that on my gas spring and low and behold, I was able to remove it and verify that the dented part isn’t actually under pressure - it’s rather a duct/guiding rail and pretty cover for the lifting bar that sticks out of the actual spring. So the spring is safe to use once I put everything back, but that outer cylinder might never go anywhere ever again. However, since the spring is still usable, I’m keeping the darned chair and have no more need to get it out for returning.
Yeah, that looks to just be the cover, the actual gas spring cylinder is rather thick (3mm galvanised steel) and typically doesn’t want to dent (due to the pressurised gas inside).
Though I’m trying to workout how you got a dent on that bit; normally the whole tap it with a rubber mallet is talking about the tapping the foot/wheel part, parallel to the gas spring
The other thing that often holds them together is a circlip around the tip of the piston of the gas ring, this typically secures the feet to the piston
For many of these friction fit adjustable height chair and stool pedestals, I’d skip the rubber mallet and definitely skip hammers.
The easiest method is to place the flattest end between your feet and apply steady pulling pressure while gently rocking back and forth.
I tried that first, to absolutely no avail. The darned thing isn’t going anywhere.
Hmm I see. What I may have left out is that, since the goal is to use the prying leverage offered by the length of the shaft, the end you aim to free should remain as flat as possible while you apply that prying force.
One of the easiest ways to ensure this is to use body weight to keep that end flat on the ground. If that’s not possible or too difficult, you can alternate pressing down with one foot then the other, then rotate the shaft 45 degrees, repeating until it lets go.
This method uses the fact that a cylindrical friction fit tends to have one radial axis applying the most cumulative friction on the shaft. The prying force shifts the oppositional maximal friction points to a different axis, and the steady pulling force during that shift allows the collar to be incrementally extracted from the cylinder.
The key thing to bear in mind, however, is that these increments can be tiny, meaning you won’t get much if any perceptible feedback indicating progress as you proceed with the pry-pry-rotate-pry-pry-rotate cycles. But if you drew a line with a greasemarker on the outside edge of the exposed length beneath the collar, you will likely see the collar’s incremental extraction progress.
That’s the cover/structural reinforcement. Get a rubber mallet for next time and reinforce the casing with something strong enough to keep it from failing.
What do you mean by reinforce? Reinforce the casing how? And do you mean that for a hypothetical next time I try to separate a gas spring from some other office chair’s base, or do you mean I should reinforce this one somehow?
Make one out of pipe, do a carbon fiber wrap, etc. figure something out.
A rubber mallet is handy to have but you do you. You could also make a wood one out of a log and a dowel but that might be beyond what you’re willing or able to do.
I’m unsure about the safety, but I have replaced several when they failed and I had a terrible sinking feeling. The kits come with a pair of collars that clamp onto the shaft and allow for the seat to be separated from the cylinder. From there, you can flip the wheels upside down and tap the cylinder with a hammer right in the middle of the wheels to remove it.
Well I knocked the side of it with the hammer, obviously. I was convinced that the outer ring that is recommended to tap was actually part of the base (5-armed structure that holds the bottom of the gas lift) and soldered to the arms - but inspecting it again carefully I relaize that it’s not: the bottom of the gas lift is in fact sticking out through the hole
 However, after working on that with a hammer as recommended it still won’t budge (I used a piece of wood instead of cloth this time - and it broke multiple times 😂)
 So instead of the piece of wood displacing the gas lift, the latter left prints on the former.
Oh and I also sprayed WD40 in there before…
So instead of the piece of wood displacing the gas lift, the latter left prints on the former.
Oh and I also sprayed WD40 in there before…